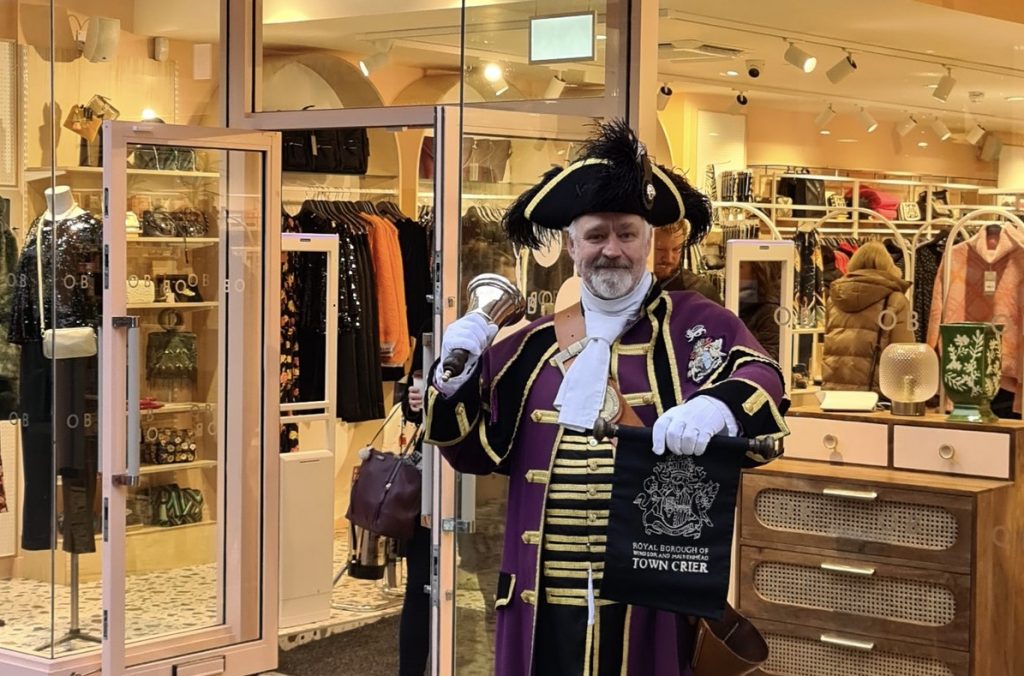
My livery looks great but the one thing letting it down (besides the chap wearing it) is the town crier scroll which I made a few years ago from an old pair of trousers, a broomstick and four doorknobs.
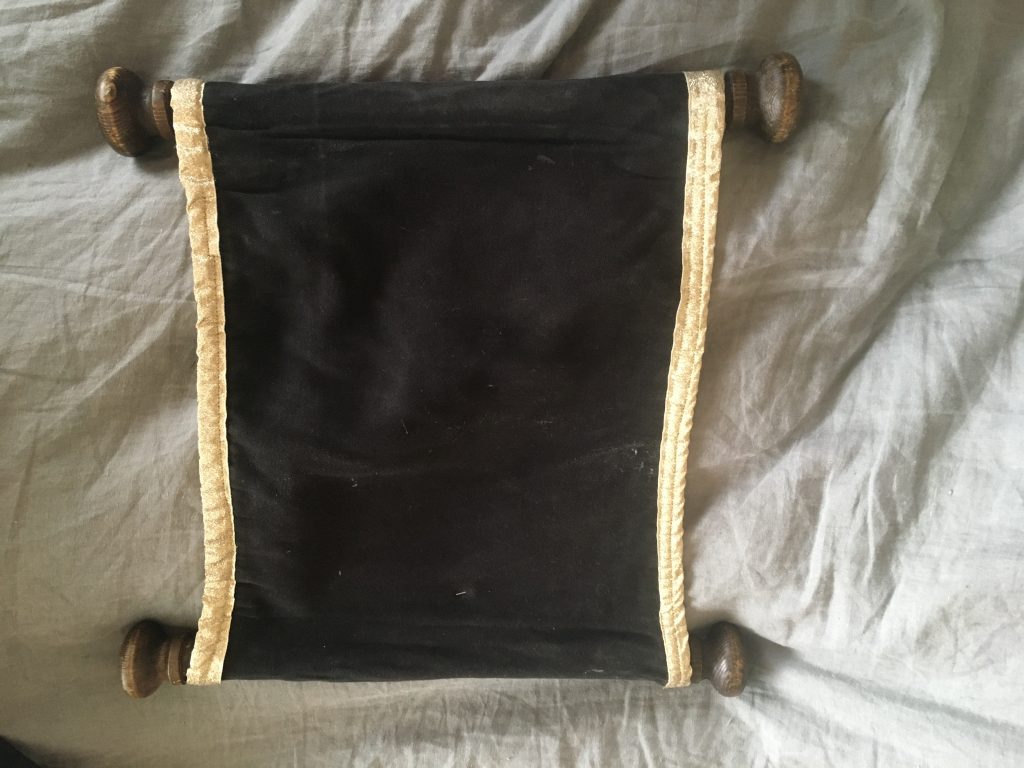
As we have a coronation coming up, it is definitely time for an upgrade.
For inspiration I looked at some of my fellow criers’ scrolls. I decided to stick with the black background (as there is quite enough purple on my livery already), but to have the Royal Borough crest put on it. The obvious way to put it there was a bit of embroidery.
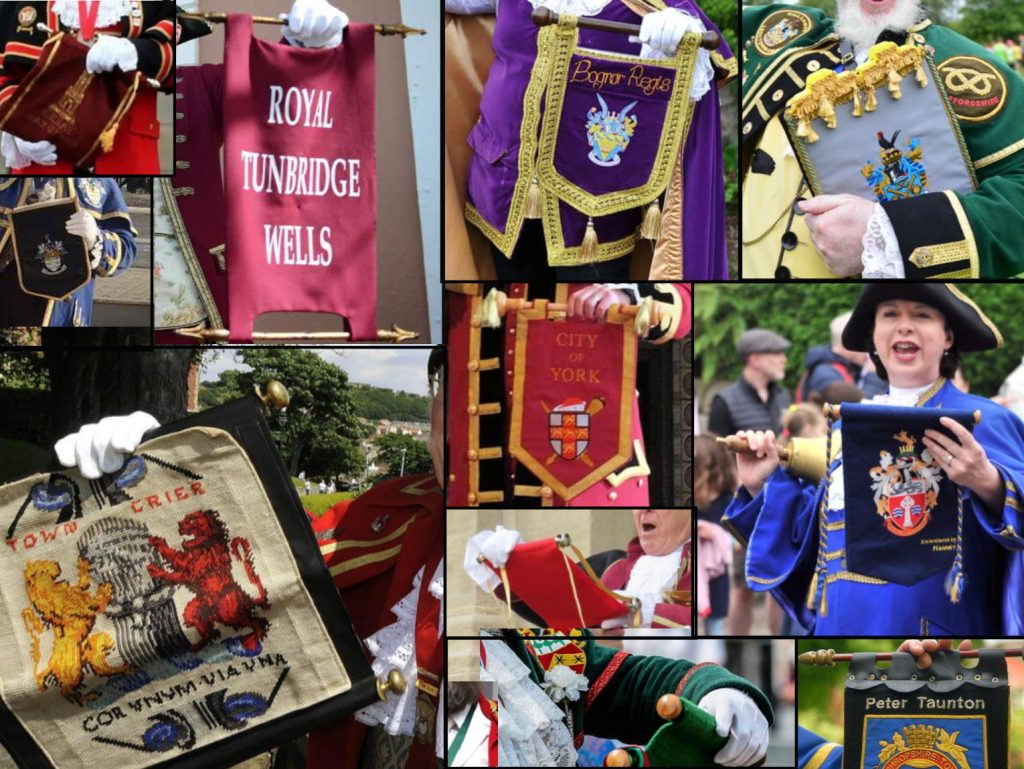
Some of these guys and girls have really lovely scrolls. However, I don’t know anyone who does embroidery and as there is no budget to pay someone, I would have to learn how to do it myself.
My vision was simply to have a copy of the borough crest and the words ‘Royal Borough of Windsor and Maidenhead Town Crier’ on the back, so it would be seen when I am facing an audience reading from the scroll. Not massively original, I know.
About 3 hours of watching ‘easy embroidery’ youtube videos later I had a list of the things I would need to buy and an entirely misplaced self-belief that I was actually capable of pulling this off.
Finding materials for the Town Crier Scroll
Windsor still has a wonderful family run Department Store (Daniels) which has a haberdashery department. So, I went shopping in an an a deep manly voice requested an embroidery hoop, some pins, needle and thread please.
Then it dawned on me that transferring the crest onto a piece of black fabric was not something I could do with ease. I guiltily bought some ‘heat erasable white fabric pens’ from Amazon the next day.
It was only once I had all that that I remembered I didn’t actually have any fabric. (I know, please don’t judge me). I went online and soon realised there is an almost endless choice available and I didn’t have a clue as to which fabric would be best… So I took the tried and trusted approach. I just took a random punt and bought a couple of metres of something described as ‘medium weight cotton’. What arrived looked suspiciously like the same material that school trousers used to be made from.
Close up work
The next hurdle was attempting to thread a needle. My eyes are not what they once were and there were going to be many hours of close-up work involved. So, I bought a set of watchmakers magnifying lenses. They were pretty cheap and I felt sure they would be dreadful. When the box arrived I was very pleased to discover that the lenses are really high quality. They come as a set of five interchangeable lenses of various strengths that clip into a headset that has a light in it. The battery recharges from a USB and the whole thing is really solid and well made. (Here’s a link if you fancy a set for yourself).

It was time to get started…
Embroidery for the Town Crier Scroll
You dont just use the yarn as supplied by the shop. That would be too easy.
I bought ‘DMC 25’ thread.
Each little packet is 8 metres but I had no idea how much I needed so I bought 4 packets. I hoped this was far too much as that would be preferable to running out halfway through the project and not being able to get any more.
You have to cut a length and then split the six threads apart and just use two or three of them. This takes a lot longer to sort out than I expected. I went for a two thread yarn and then spend 10 frustrating minutes trying to thread it through the tiny needle eye.
The basic stitch (according to a lady called Sara Homfrey who does lots of useful videos in a nice calm voice) was to come up from underneath, make a small stitch back toward yourself, stab down into the fabric, say ‘ouch’, and then come up again in the middle of the visible stitch you just made. Then do it again about 20 thousand times till you have finished. The fewer ‘ouches’, the better you are doing.
Here are some pictures I took of the work in progress.
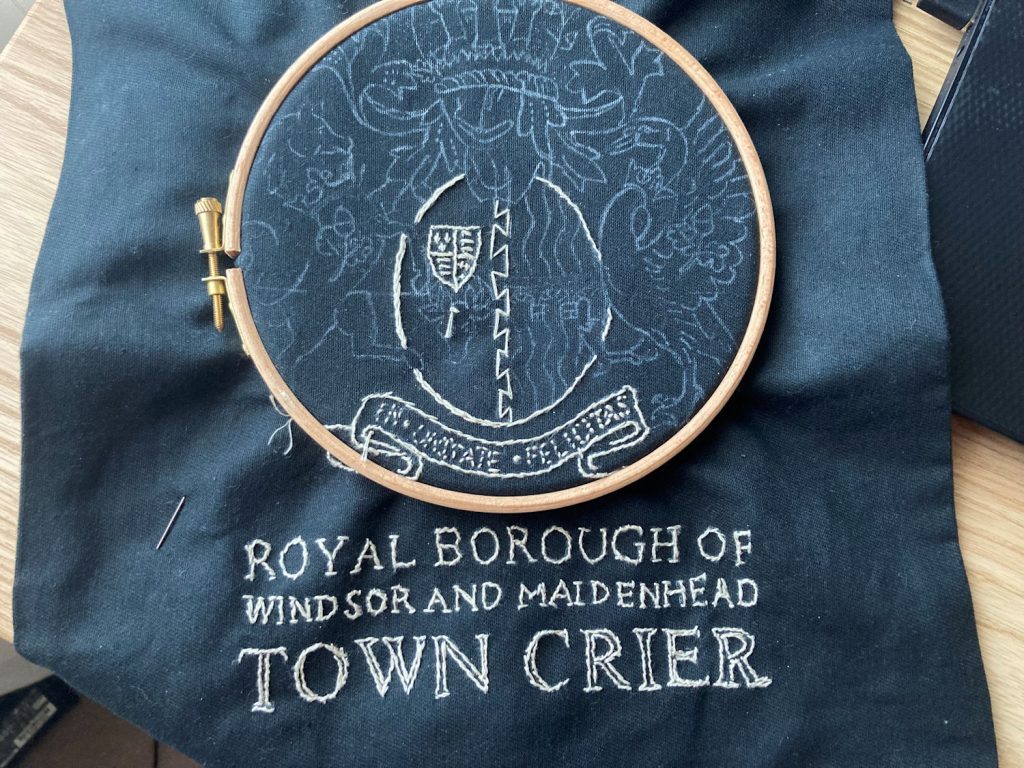
I am sure Sara will have nightmares if she ever sees this shoddy work, but this is genuinely my first attempt at this stuff.
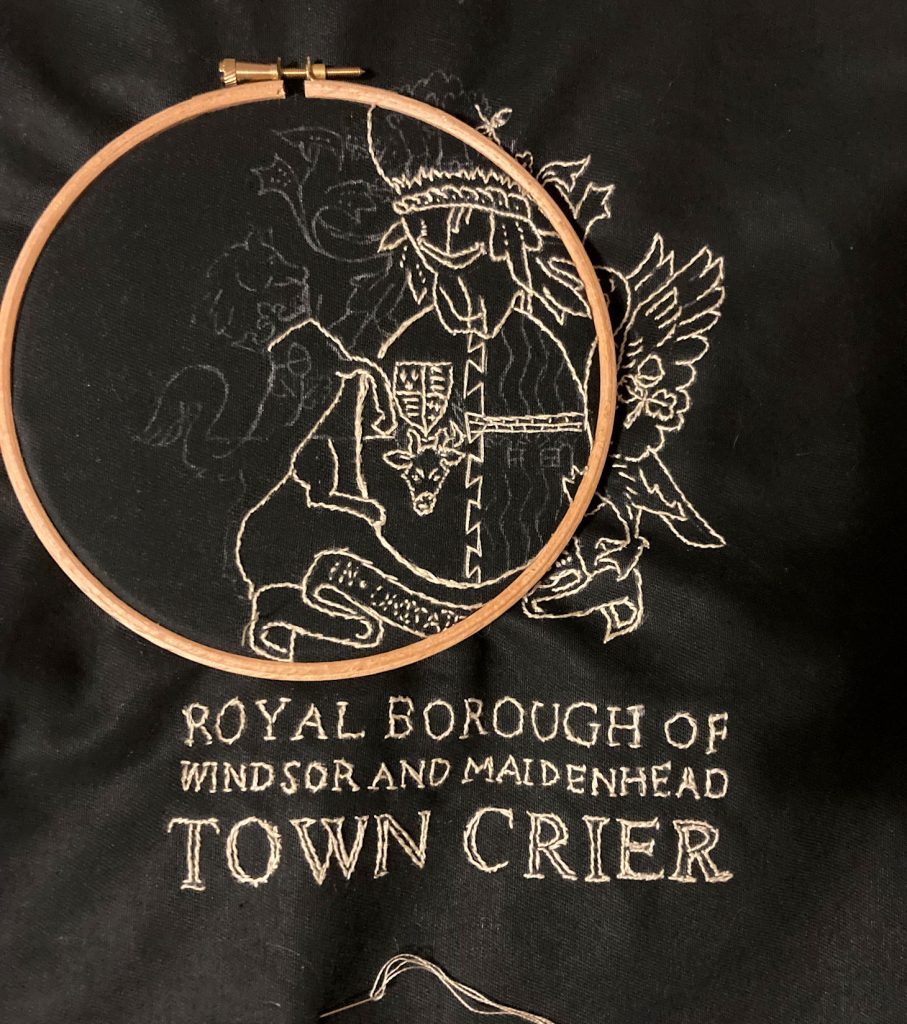
As I went on my stitching did improve marginally, so the top right of the piece is generally better than the bottom left. The trick is to make stitches as small as you can. To a degree it is a battle between your wish for a good looking stitch line and your wish to get on an finish the damn thing. I was genuinely and happily surprised by how the swan turned out. The lettering which was the first part I tackled was less successful.
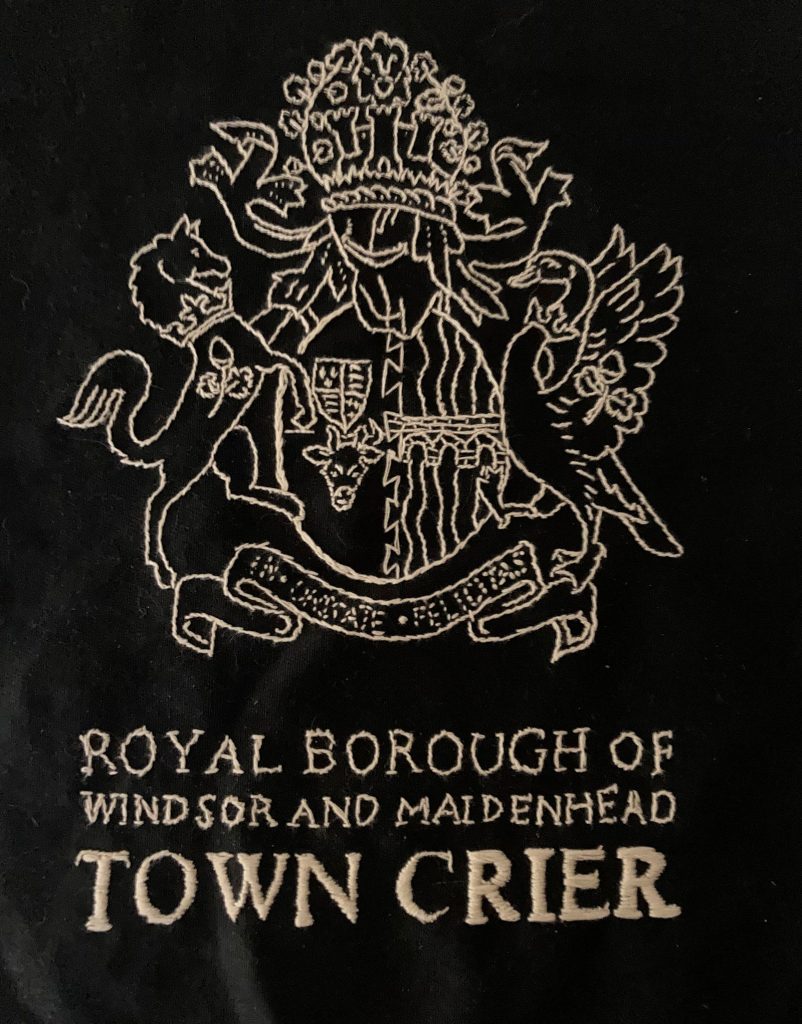
Once I had stitched everything I tried a new stitch over the words ‘Town Crier’ to give a filled effect and hide the shoddy early work. This is called ‘satin stitch’ and increased the number is stitches I could do badly by 100%. Its still very rough and ready, but from a distance it actually looks quite good.. or at least bearable. Apparently it would have been better if I had run the filling stitches at 45 degrees rather than horizontally, but the thought of unpicking and starting again is not springing to mind right now.
Finishing the Scroll
Then I had to mount it so that the back got covered. The technique is apparently called ‘bagging’. You get another piece of fabric and place it over the front of the embroidery. Now you sew around three sides (using black thread this time) and then turn it inside out to create what looks like a pillowcase. Finally sew up the fourth edge using a ‘ladder stitch’. For these straight edges I got mum’s old sewing machine out of the under stair cupboard. I spent a merry afternoon reading the manual and trying to remember the lesson on how to use that mum gave me about 20 years ago.
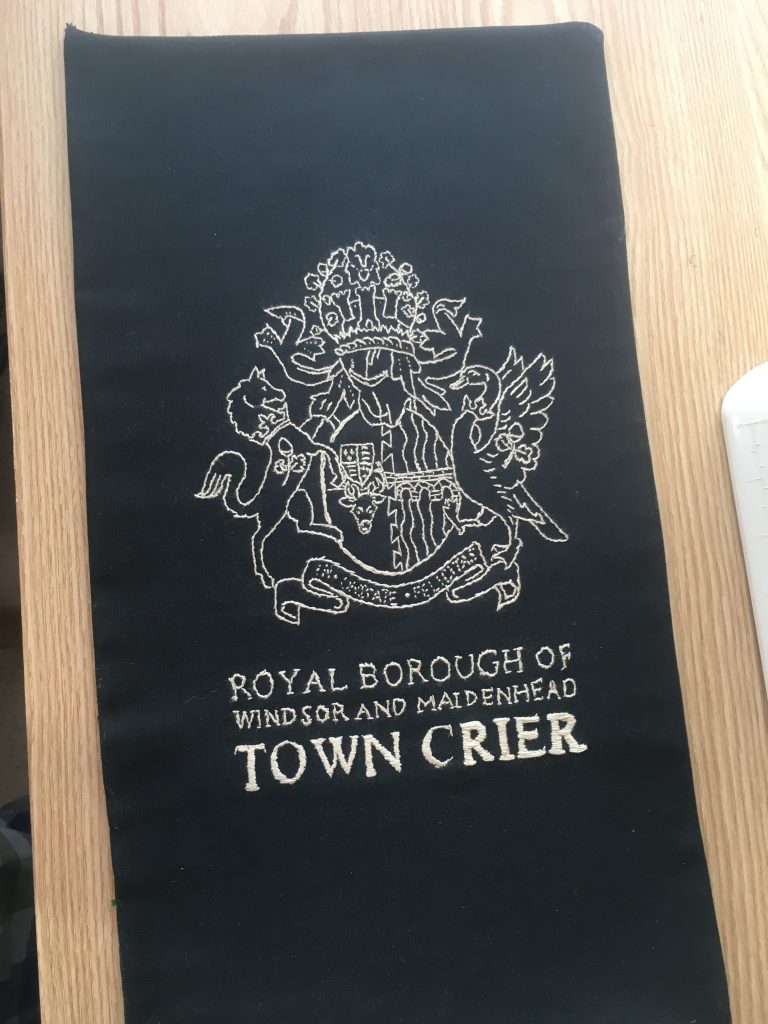
As for the wooden rod at the top of the town crier scroll, I confess I resized one of the old broomstick pieces and reused two of the doorknobs. This is simply because I have lots of events to attend in the next month. I hope to make an improvement here during the quiet period before it all kicks off again around Easter.
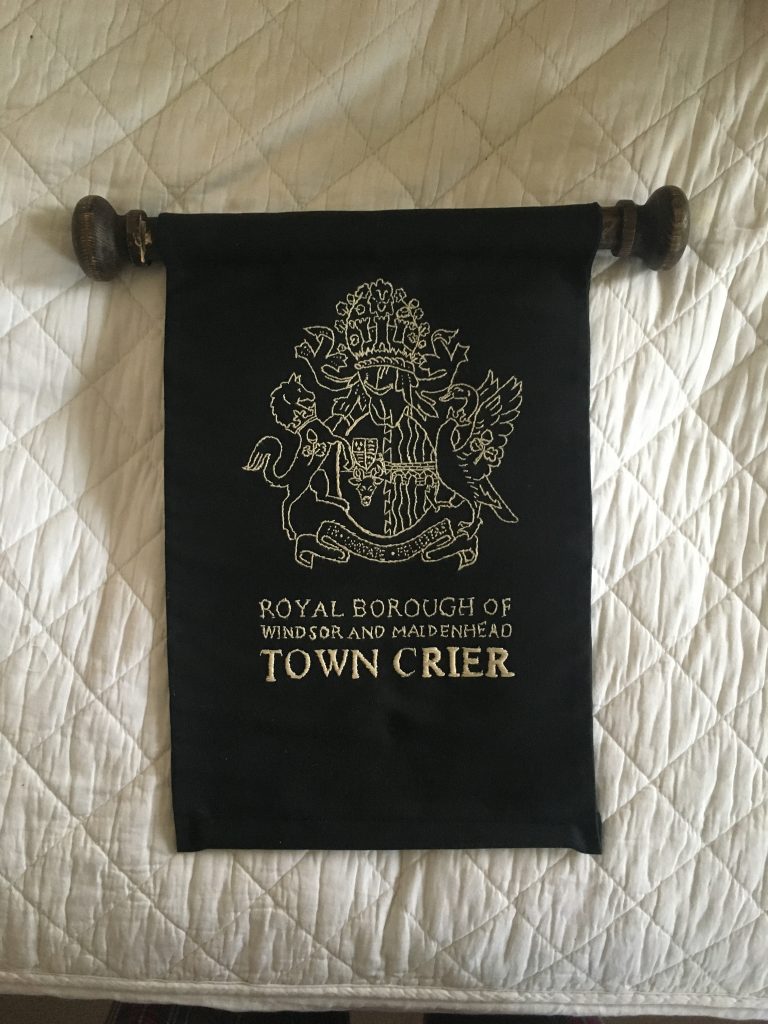
So then it was time to take it out in public. Actually got fewer ‘are you a pirate’ questions than usual.
